This guide shows how to send infrared remote control signals from DC1 dyno controller to control a device which uses an infrared remote.
The hardware
To send infrared signals, you just need an IR LED diode and a resistor. The following schematic can be used:

Good choice for IR LED can be a Vishay TSAL6200 High Power Infrared Emitting Diode.
The resistor should be selected to limit the current going through the diode to a value that is safe for it. If you don’t know your diode specification, you can assume that 10mA is safe and use 1k, 0.25W resistor. If you are using the suggested Vishay diode that has 100mA allowed current, you may use 100R 2W resistor.
The 1N4148 diode is an optional element to protect the IR diode if you reverse the connection polarity by accident.
The circuit should be connected between DC1 12V + pin and Low side out 4 S pin.
System setup
The DC1 controller system will need some additional software and setup to be able to encode IR control signals. The following commands can be run in the terminal.
First, you need to enable IR gpio overlay. Open the following file with a text editor
sudo nano /boot/config.txtAdd the following line at the end of /boot/config.txt to enable the IR control on Low side output 4:
dtoverlay=gpio-ir-tx,gpio_pin=13Next, you need to install additional software for infrared signal encoding:
sudo apt install lirc lirc-compat-remotesEdit the LIRC setup file:
sudo nano /etc/lirc/lirc_options.confIn the /etc/lirc/lirc_options.conf two lines need to be changed to look like this:
driver = default
device = /dev/lirc0
One last step of the system setup is to download a configuration file for your remote control. The available remotes list can be found here: http://lirc-remotes.sourceforge.net/remotes-table.html
Remove the existing config that may interfere, download the config you need and reboot the system:
sudo rm -f /etc/lirc/lircd.conf.d/*
sudo irdb-get download kenwood/RC-R0602.lircd.conf #example config, replace kenwood/RC-R0602.lircd.conf with the file you need
sudo reboot
Now check if everything went OK
sudo service lircd statusThe response should look like that:
● lircd.service - Flexible IR remote input/output application support
     Loaded: loaded (/lib/systemd/system/lircd.service; enabled; vendor preset: enabled)
     Active: active (running) since Thu 2022-07-28 20:55:56 CEST; 41s ago
TriggeredBy: ● lircd.socket
       Docs: man:lircd(8)
             http://lirc.org/html/configure.html
   Main PID: 498 (lircd)
      Tasks: 2 (limit: 1620)
        CPU: 22ms
     CGroup: /system.slice/lircd.service
             └─498 /usr/sbin/lircd --nodaemon

Jul 28 20:55:56 raspberrypi lircd-0.10.1[498]: Notice: Driver  version: 0.10.0
Jul 28 20:55:56 raspberrypi lircd-0.10.1[498]: Notice: Driver  info: See file:///usr/share/doc/lirc/plugindocs/default.html
Jul 28 20:55:56 raspberrypi lircd-0.10.1[498]: Info: lircd:  Opening log, level: Info
Jul 28 20:55:56 raspberrypi lircd-0.10.1[498]: Notice: Using systemd fd
Jul 28 20:55:56 raspberrypi lircd-0.10.1[498]: Warning: Running as root
Jul 28 20:55:56 raspberrypi lircd-0.10.1[498]: Info: Using remote: Kenwood.
Jul 28 20:55:56 raspberrypi lircd[498]: lircd-0.10.1[498]: Info: Using remote: Kenwood.
Jul 28 20:55:56 raspberrypi lircd[498]: lircd-0.10.1[498]: Notice: lircd(default) ready, using /var/run/lirc/lircd
Jul 28 20:55:56 raspberrypi lircd-0.10.1[498]: Notice: lircd(default) ready, using /var/run/lirc/lircd
Jul 28 20:55:56 raspberrypi systemd[1]: Started Flexible IR remote input/output application support.
Now you can list the available remotes that you can use:
irsend LIST "" ""And list the keys available for the remote:
irsend LIST Kenwood ""And finally, try to send an example IR signal:
irsend SEND_ONCE Kenwood KEY_1You will see the red LED inside the DC1 blink for a second, and if you wired the IR LED correctly, it will send the KEY_1 signal.
Dyno2 software setup
Running the commands from the console is not so convenient, so we will set up the Dyno2 dynamometer software to do it with a button press.
We will add some command buttons to the desktop in RUN tab:
1. Right-click the empty space on the desktop in RUN tab and select “New command button”
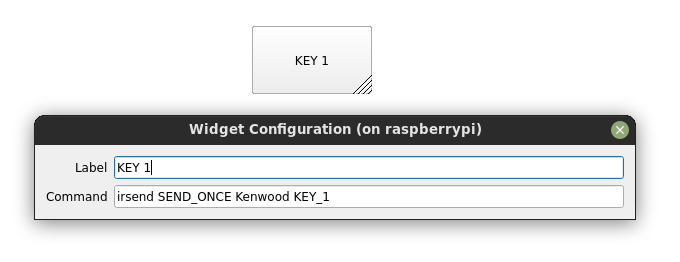
2. Set the label to KEY 1 and command to irsend SEND_ONCE Kenwood KEY_1

3. Repeat the procedure for other keys, that you want to use

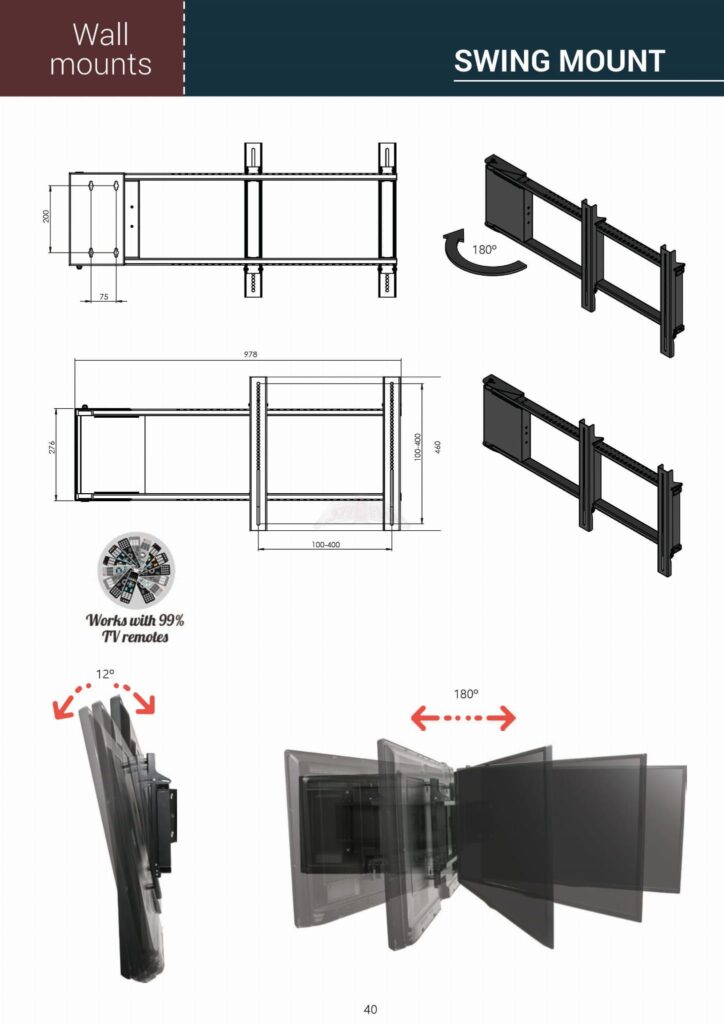
Now you’re ready to use the DC1 dyno controller as a remote control for your DVD player 😉 or maybe rather an IR controlled motorized swing mount for dyno screen?

